Overview — how Trezor Bridge works
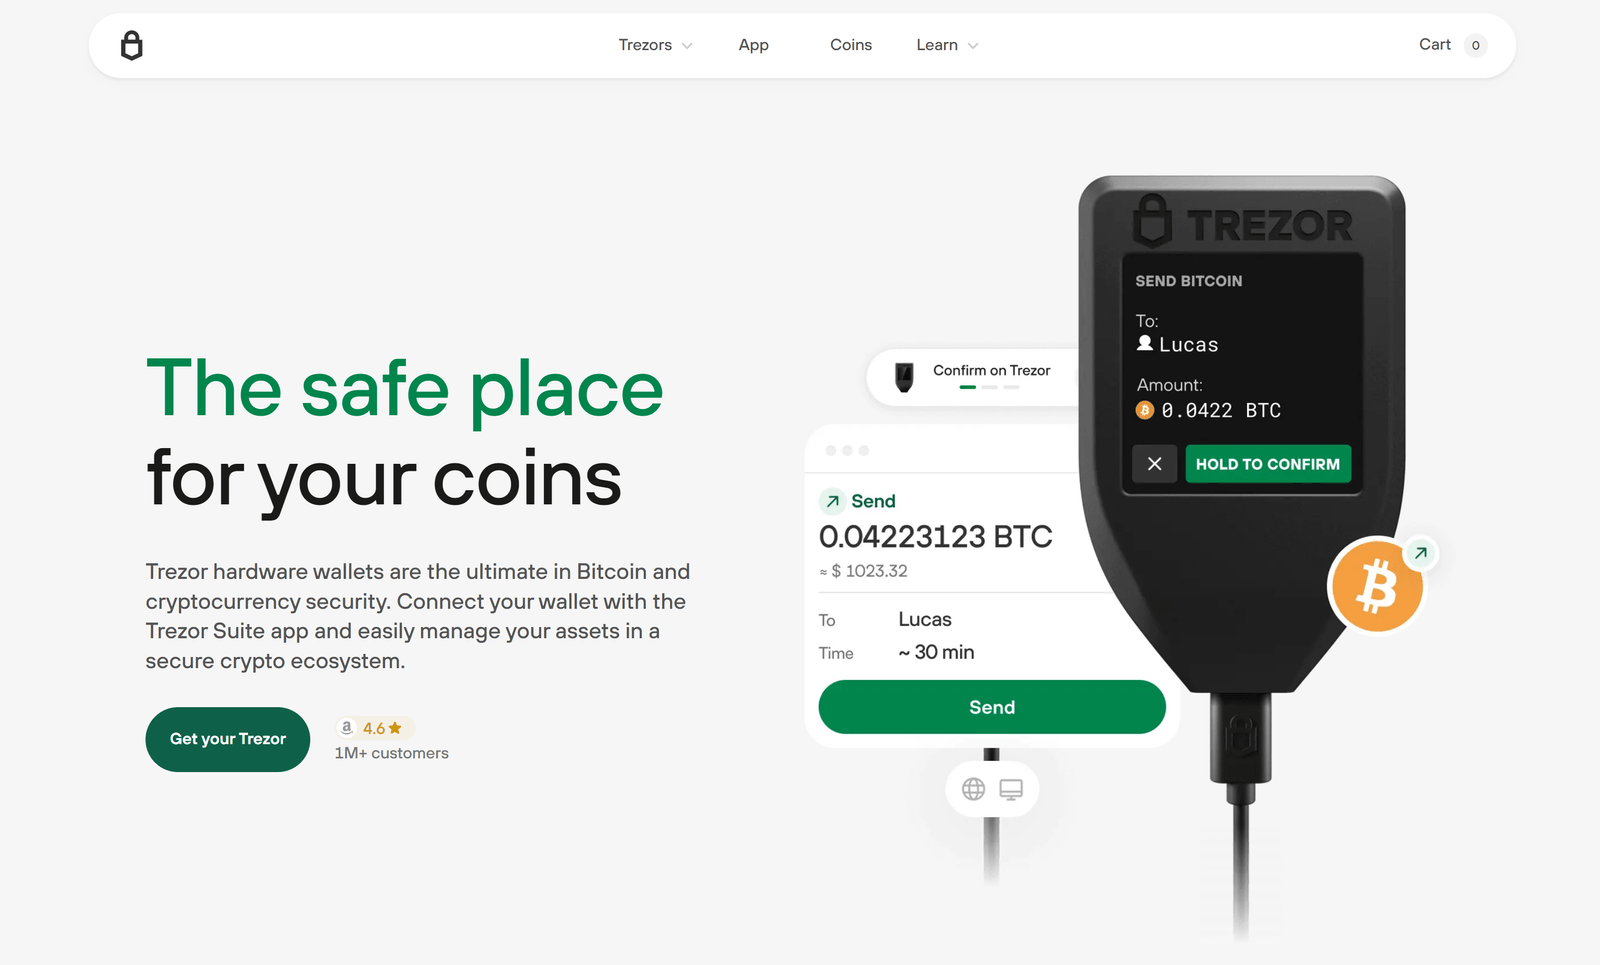
At its core, Trezor Bridge runs on your computer and exposes a secure local API that web applications (or the Trezor Suite desktop app) can call. When a site needs to request account information or prepare a transaction, that request goes through Bridge to the device. The device handles seed derivation and signing locally; Bridge simply moves data back and forth while ensuring origin checks and permission prompts are respected.
Using Trezor Bridge avoids the need for browser-specific USB workarounds and helps maintain a predictable connectivity layer across operating systems. Because Bridge runs locally, it reduces the attack surface compared to remote intermediaries and gives you control over when and how your Trezor is accessed.
Installing Trezor Bridge
Installing Trezor Bridge is straightforward and quick. Always download Bridge from the official Trezor website or through official Trezor Suite prompts to avoid counterfeit installers.
- Visit the official Trezor download page and choose
Trezor Bridge.
- Download the installer that matches your OS (Windows, macOS, or Linux).
- Run the installer and follow on-screen instructions; you may be asked to approve system permissions to allow USB access.
- Restart your browser or desktop app after installation to ensure the Bridge service is recognized.
Note: Modern Trezor Suite can also provide an integrated connectivity experience and will prompt if Bridge is required—follow the app's official prompts for the smoothest setup.
Security considerations for Trezor Bridge
Security with Trezor Bridge relies on a few simple principles: keep the Bridge installer authentic, run Bridge only on machines you trust, and confirm every action on the Trezor device screen. Bridge itself does not store your private keys; signs and seed handling remain on the hardware.
When a website requests access via Bridge, the device presents a clear prompt and the human-readable data you must verify. If an unexpected prompt appears, do not approve it. Treat any request for your recovery seed as malicious—Trezor Bridge and legitimate apps never ask you to type or transmit your seed.
Troubleshooting common Trezor Bridge issues
Because Bridge interacts with hardware, drivers and permissions can sometimes interfere. The most common issues are detection failures, stale Bridge versions, and browser caching. These steps resolve the majority of problems:
- Device not detected: check your USB cable and port, unlock the device with its PIN, and ensure Bridge is running (restart the service or your computer if needed).
- Browser shows no device: close and reopen the browser after installing Bridge, or try an update to your browser. Some browsers require a relaunch to register Bridge's local API.
- Permission errors: verify your operating system's USB permissions; on macOS and Linux you may need to approve access or add udev rules on Linux.
- Update Bridge: if Bridge is out of date, download the latest from the official site—compatibility improvements and bug fixes are released periodically.
If problems persist, consult official Trezor support pages rather than community forums for actions that involve firmware or seed handling.
Alternatives and future directions
In some contexts, Trezor Suite's desktop build removes the need for a separate Bridge install because it integrates the connectivity layer. Web-based dApps may also adopt modern browser USB APIs that interact directly with devices, but many users still benefit from Bridge's stability and cross-platform behavior. Stay informed via official channels to choose the connection method that best fits your workflow.
Best practices when using Trezor Bridge
Follow a simple checklist for safe Bridge usage: download only from official sources, keep Bridge updated, confirm device prompts every time, and avoid using untrusted machines. For critical operations—large transfers or firmware updates—prefer a clean, dedicated machine and keep your recovery seed physically secure.